Start a session
One of the main collaborative features of Renku are hosted sessions. These sessions are fully-featured Jupyter notebook servers running either JupyterLab, RStudio, VSCode or a fully-featured Linux desktop using VNC. We will use JupyterLab and RStudio for this tutorial.
In the previous step we created a new project using the Python, Julia or R template; we can start working with the project right from the browser by starting a session in end-points mentioned above.
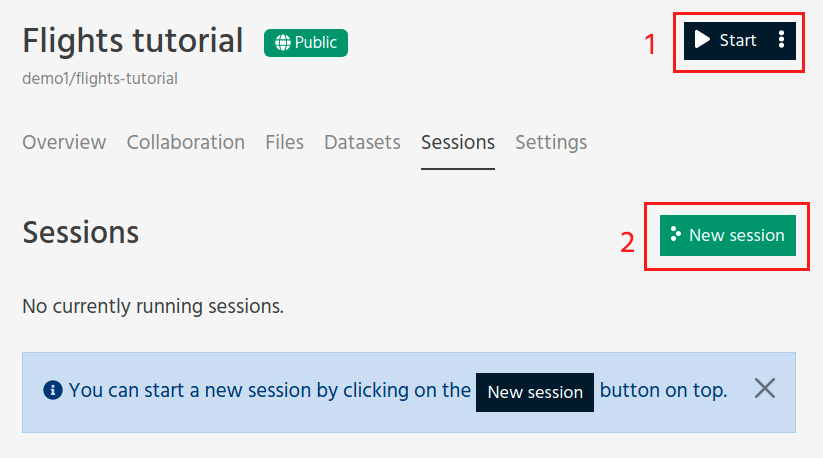
There are a few ways of initiating a session. The one-click Start button (1) uses all the default settings to initiate a session.
This would be sufficient for this tutorial, however you may also click on New session (2) to customize the settings with which to start a session. For example, you can select the computational requirements and commit to launch from.
The Docker image takes some time to build, it’s possible that the status is still building. It will automatically refresh when it’s ready. Sit tight and wait for it to become available.
Note
While building the image, you should see a button pointing to the pipelines. Click it if you are curious to understand what is happening under the hood.
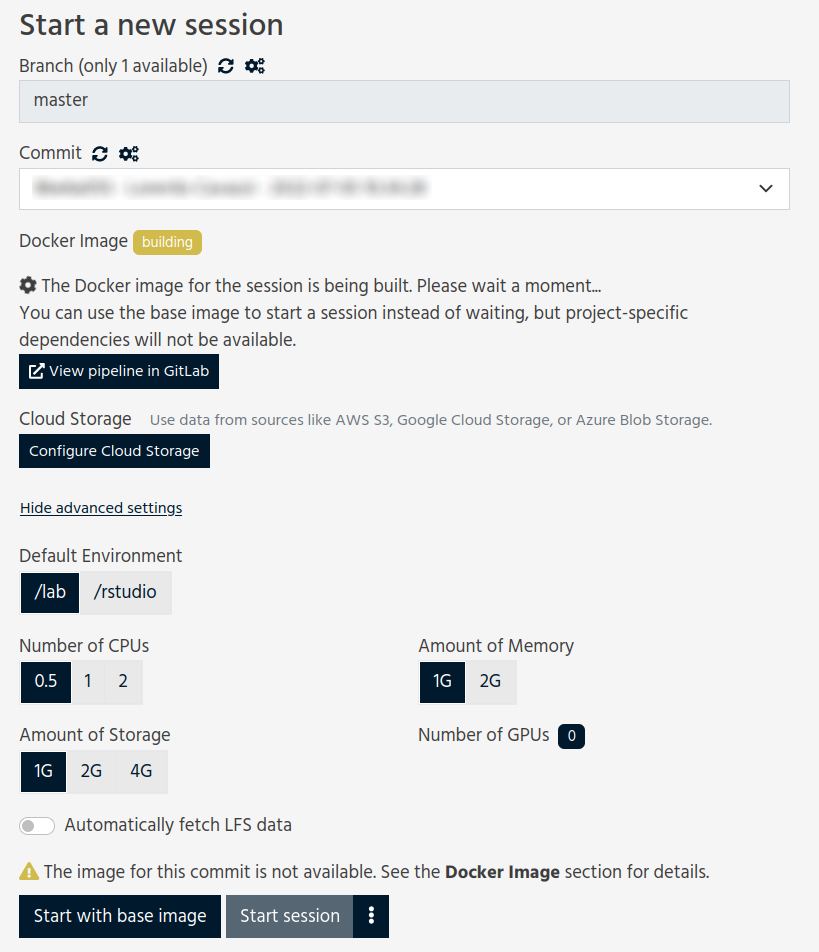
The default settings are fine for this tutorial. Choose either /lab or /rstudio depending on your project type and then click on Start session (3). You will see a table with the status of the environment launch (initially in yellow) on the right. Wait until its color has turned to green and the status from Pending to Running.
Note
Please be patient, the first time you start a server it may require some time to launch.

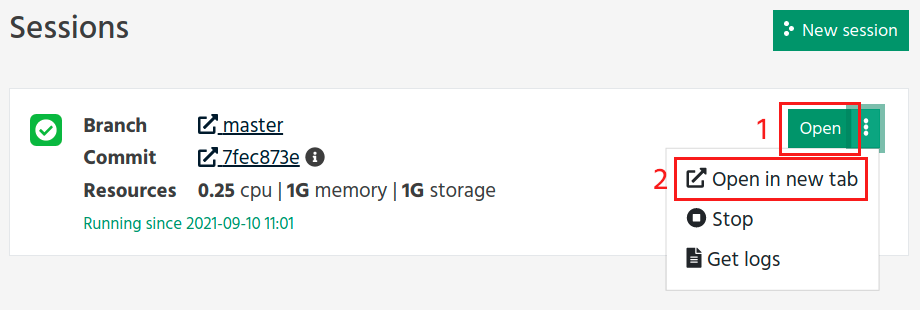
You can now connect to your session by clicking on the Open button (1), which will open the session in the same browser tab, or you can Open in new tab (2) which will open the session in a new tab. You can have both of these open at the time time too, so you do not need to worry about choosing between the two.